Java图片批量压缩像素的实现方法_java(java 图片压缩)
2022-03-01
目录
- 图片压缩大法
- 压缩前大小:
- 压缩后大小:
- 具体代码实现:
- 附:利用Graphics类如何进行压缩图像
- 总结
图片压缩大法
为了防止用户流量的丢失,即使在5g 即将来临的情况下,压缩算法依旧是很有必要的,额跑题了,不好意思,今天介绍的不是压缩算法,讲啥呢?主要讲讲如何通过 java 将图片进行压缩,尽可能的控制压缩损比,不仅仅是为了减少存储,其目的是快速呈现给用户,只有良好的体验,才会在当今这个急躁的年代减少流量的损失。
最近因为公司要需要xxx认证上传测试用例功能的具体截图、发现有大小限制、所以就进行了图片压缩,简单记录一下。
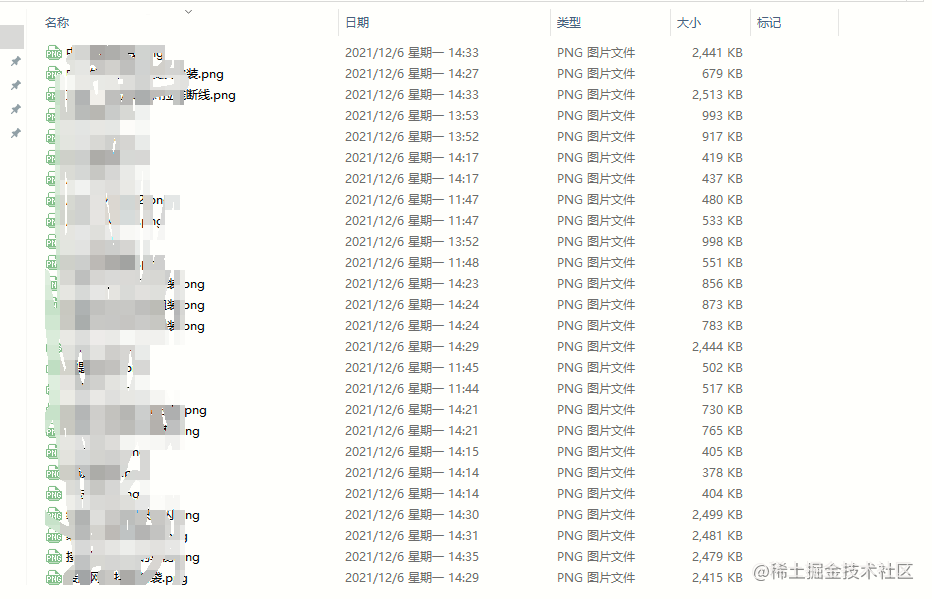
压缩前大小:
压缩后大小:

具体代码实现:
main方法测试:
 public static void main(String[] args) throws IOException {

        String modpath = "C:\\Users\\Administrator\\Desktop\\鲲鹏认证\\test\\";

        getFiles("C:\\Users\\Administrator\\Desktop\\鲲鹏认证\\测试用例清单", modpath, 160);//将图片压缩至100宽

    }
文件大小处理
/**

     * @param srcPath 原图片路径

     * @param desPath 转换大小后图片路径

     * @param width   转换后图片宽度

     * @param height  转换后图片高度

     */

    public static void resizeImage(String srcPath, String desPath, int width, int height) throws IOException {

        File srcFile = new File(srcPath);

        Image srcImg = ImageIO.read(srcFile);

        BufferedImage buffImg = null;

        buffImg = new BufferedImage(width, height, BufferedImage.TYPE_INT_ARGB);

        //使用TYPE_INT_RGB修改的图片会变色

        buffImg.getGraphics().drawImage(srcImg.getScaledInstance(width, height, Image.SCALE_SMOOTH), 0, 0, null);

        String filePath="";

        if (srcFile.getName().contains("#")) {

             filePath = srcFile.getName().replace("#", "");

        }else{

            filePath=srcFile.getName();

        }

        ImageIO.write(buffImg, "PNG", new File(desPath + filePath));

    }
获取目录文件信息
/**

     * @param scaleSize 图片的修改比例,目标宽度

     */

    public static void getFiles(String path, String modPath, int scaleSize) throws IOException {

        ArrayList<String> files = new ArrayList<String>();

        File file = new File(path);

        File[] tempList = file.listFiles();

        //循环读取目录下图片

        for (int i = 0; i < tempList.length; i++) {

            String filePath = tempList[i].getName();

            if (tempList[i].isFile()) {

                System.out.println("文件:" + filePath + "-" + tempList[i].getAbsolutePath().replaceAll("\\\\", "/"));

                String[] imagePath = tempList[i].getAbsolutePath().replaceAll("\\\\", "/").split("/");

                String imageNumber = null;

                FileUtil.resizeImage(tempList[i].getAbsolutePath().replaceAll("\\\\", "/"), modPath, 160, 160);

                files.add(tempList[i].toString());

            }

            if (tempList[i].isDirectory()) {

                  System.out.println("文件夹:" + tempList[i]);

            }

        }

        System.out.println(path + "下文件数量:" + files.size());

    }
控制台目录压缩成功保存到盘符:

附:利用Graphics类如何进行压缩图像
Graphics类提供基本绘图方法,Graphics类提供基本的几何图形绘制方法,主要有:画线段、画矩形、画圆、画带颜色的图形、画椭圆、画圆弧、画多边形、画字符串等。 这里不做一一赘述, 进重点介绍一下,利用Graphics类如何进行压缩图像。不多说直接上代码。
	/**

	 * compressImage

	 *

	 * @param imageByte

	 *            Image source array

	 * @param ppi

	 * @return

	 */

	public static byte[] compressImage(byte[] imageByte, int ppi) {

		byte[] smallImage = null;

		int width = 0, height = 0;


		if (imageByte == null)

			return null;


		ByteArrayInputStream byteInput = new ByteArrayInputStream(imageByte);

		try {

			Image image = ImageIO.read(byteInput);

			int w = image.getWidth(null);

			int h = image.getHeight(null);

			// adjust weight and height to avoid image distortion

			double scale = 0;

			scale = Math.min((float) ppi / w, (float) ppi / h);

			width = (int) (w * scale);

			width -= width % 4;

			height = (int) (h * scale);


			if (scale >= (double) 1)

				return imageByte;


			BufferedImage buffImg = new BufferedImage(width, height, BufferedImage.TYPE_INT_RGB);

			buffImg.getGraphics().drawImage(image.getScaledInstance(width, height, Image.SCALE_SMOOTH), 0, 0, null);

			ByteArrayOutputStream out = new ByteArrayOutputStream();

			ImageIO.write(buffImg, "png", out);

			smallImage = out.toByteArray();

			return smallImage;


		} catch (IOException e) {

			log.error(e.getMessage());

			throw new RSServerInternalException("");

		}

	}
其实,关键点就两处
BufferedImage buffImg = new BufferedImage(width, height, BufferedImage.TYPE_INT_RGB);

buffImg.getGraphics().drawImage(image.getScaledInstance(width, height, Image.SCALE_SMOOTH), 0, 0, null);